Chalkboard Label DIY
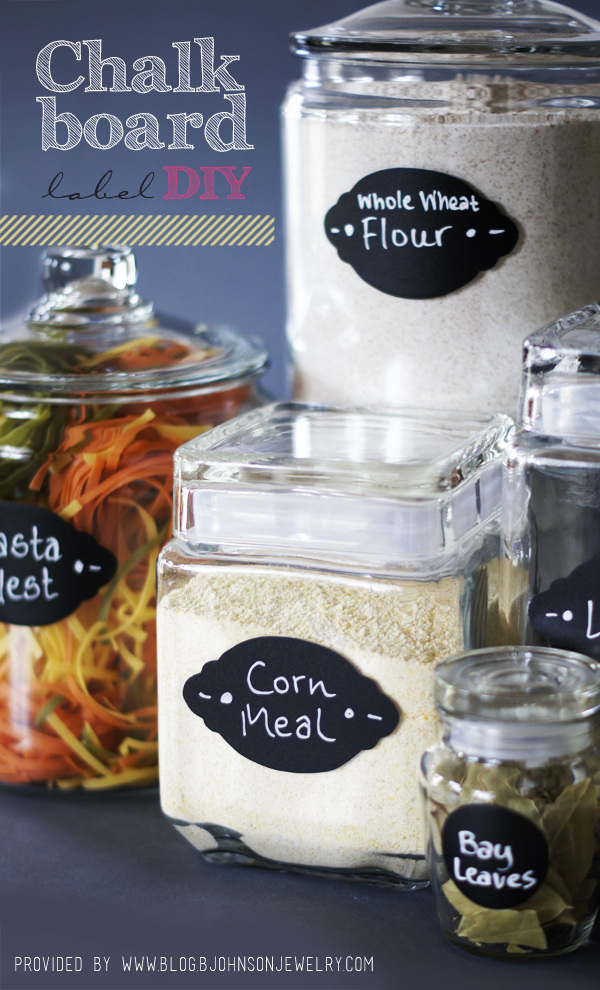
While I was online shopping for storage options to organize my pantry, I came across these amazing and affordable square glass jars from WorldMarket, BINGO exactly what I needed – add to the list (and if you are a Rewards member you can get these at a 10% discount, with coupon only)!
After I had the glass jars down on my shopping list I started looking for labeling options, I needed something simple, easy to make, reusable, affordable (of course), and good-looking. HA, there it was IN MY FACE all over Pinterest – Chalkboard labels, daaahhh. Now there are about 50million options you can make these, ok maybe just 5 or 6 or 7???
However, since I am prego and have a toddler running around that is super nosy when mommy is busy, I scratched the painting a chalkboard label option! I think I would have chosen Natalie’s option from creme de la craft if the prego and toddler part wouldn’t apply to me, and maybe even paint the chalkboard paint directly onto the jar so when you wash them your labels won’t come off – hint hint!!!
So, only 2 or 3 options left, right?
- Printable Chalkboard labels designed by Emily McDowell and the step by step instructions are from blog.worldlabel.com.
- Spray-able Chalkboard labels by Liz from hoosierhomemade.com
- Buy everything ready-made from the store Worldmarket has the Glass jars for $3.99 – 5.99 and 6 labels for $3.99 or the jar with label already on it for $4.99.
And, then there was my favorite, easy peasy Chalkboard vinyl label cut-out option!
Ready for it? Ok, let’s get started…
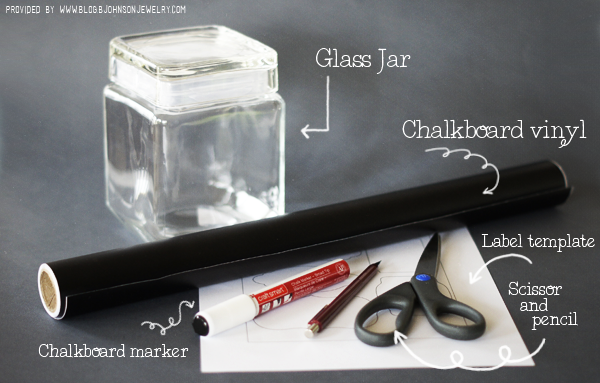
What you’ll need:
- Square glass jars from WorldMarket for $3.99 – $5.99
- Chalkboard vinyl from Hobby Lobby for $7.99
- 1 1/2″ Circle lever puncher from Hobby Lobby for $9.99 (you only need this if you want to redo your spice jars while you are doing your big jars)
- Chalkboard Marker from Michaels for $11.95 (also available with 2 white pens, a black one and a red one) – you can probably find this pen cheaper on amazon, since you only need one!
- 1 Scissor
- 1 Pencil
- Printable label template – and since you are on it, make sure to sign up for a FREE Dropbox account, easy storage solution accessible from any device
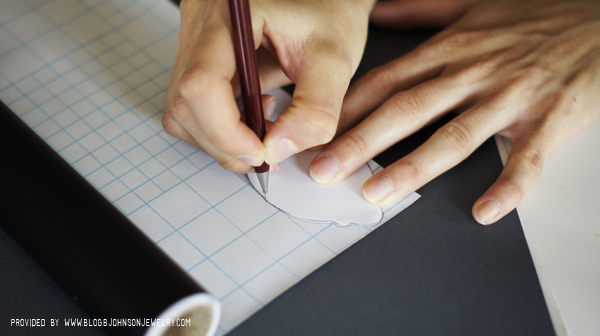
1. Start by cutting out your favorite label from the label template, and start tracing it on the backside of your chalkboard vinyl.
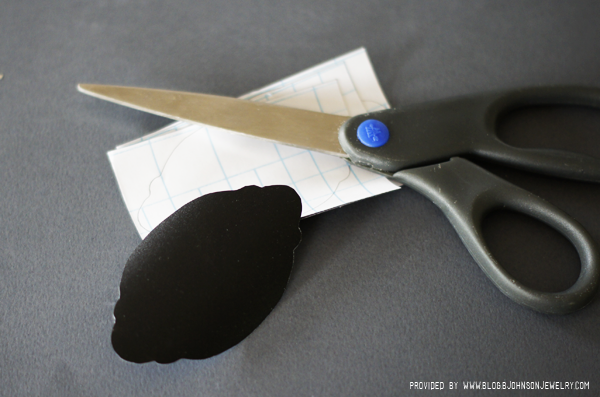
2. Cut-out the labels
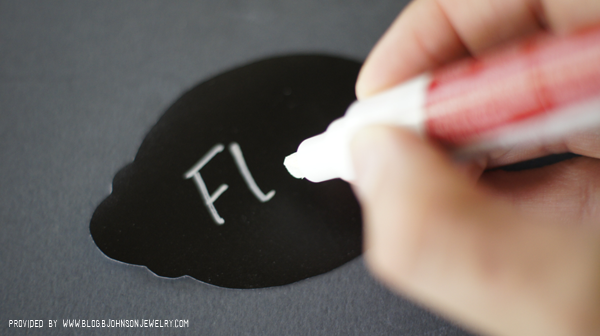
3. Write on it with the Chalkboard marker
I chose a chalkboard marker because it is a little harder to wipe off since I’ll be touching my jars quite a bit – to pull in and out of the pantry, but with a damp paper towel it will come off nice and clean. So, I thought I’d invest my mula in a set.
4. Let them dry for a minute or so and start applying them carefully onto your jars, the back of your vinyl comes off easily if you bend the black part lightly forward with your fingertip. In case you stick one uneven on your jar, just peel it carefully off… don’t do it to often tho. or it will lose its stickiness and the label is going to look funky + you’ll have to re-write on it!
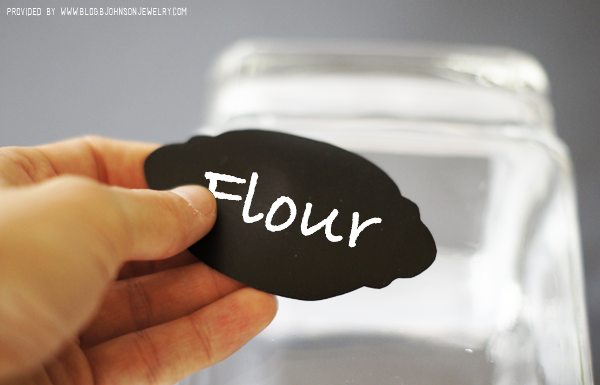
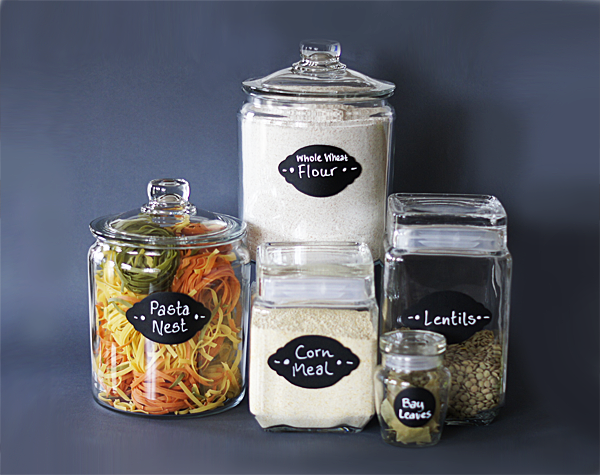
All DONE!!!
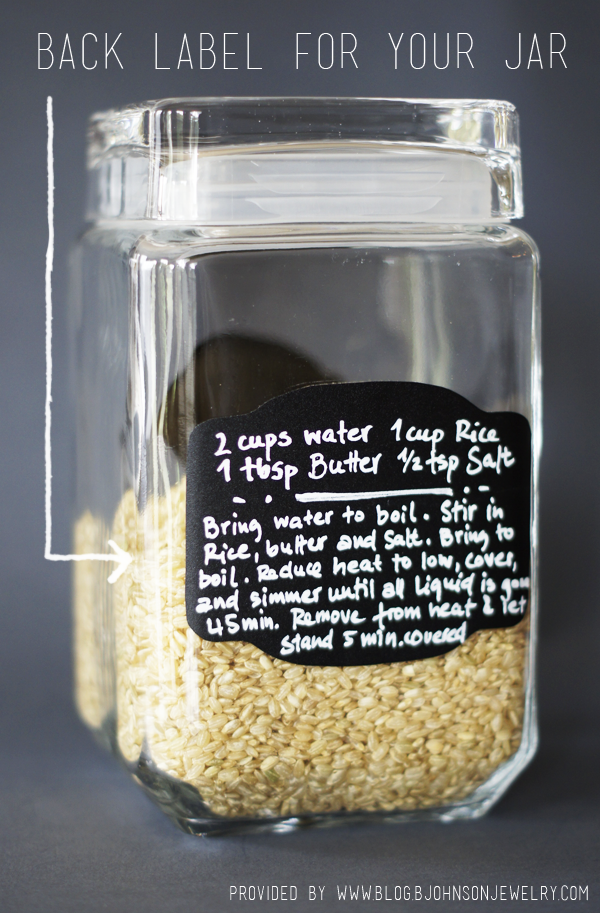
Then I came across a little problem, I had this brown rice and wanted to keep the bag it came in but my part-time OCD kicked in, so now I needed to think of something FAST!!! Wait for it….Voilà, one of the bigger labels fitted right onto the backside of my jar and all I had to do was write the instructions from my package on it, high-five myself!
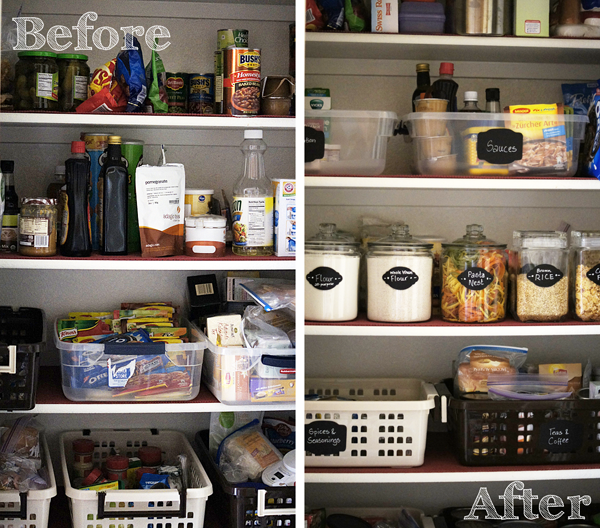
Here it is, my before and after image of the pantry. Now let’s just hope that clumsy, prego mommy is not breaking any glass when pulling things out of the pantry!
Hope you enjoyed this DIY, I will also post another DIY early next week on how to transform your old spice jars into Bead storage. For more DIY’s click here. Stay tune or subscribe to my newsletter. Thanks
(all images and content by me)