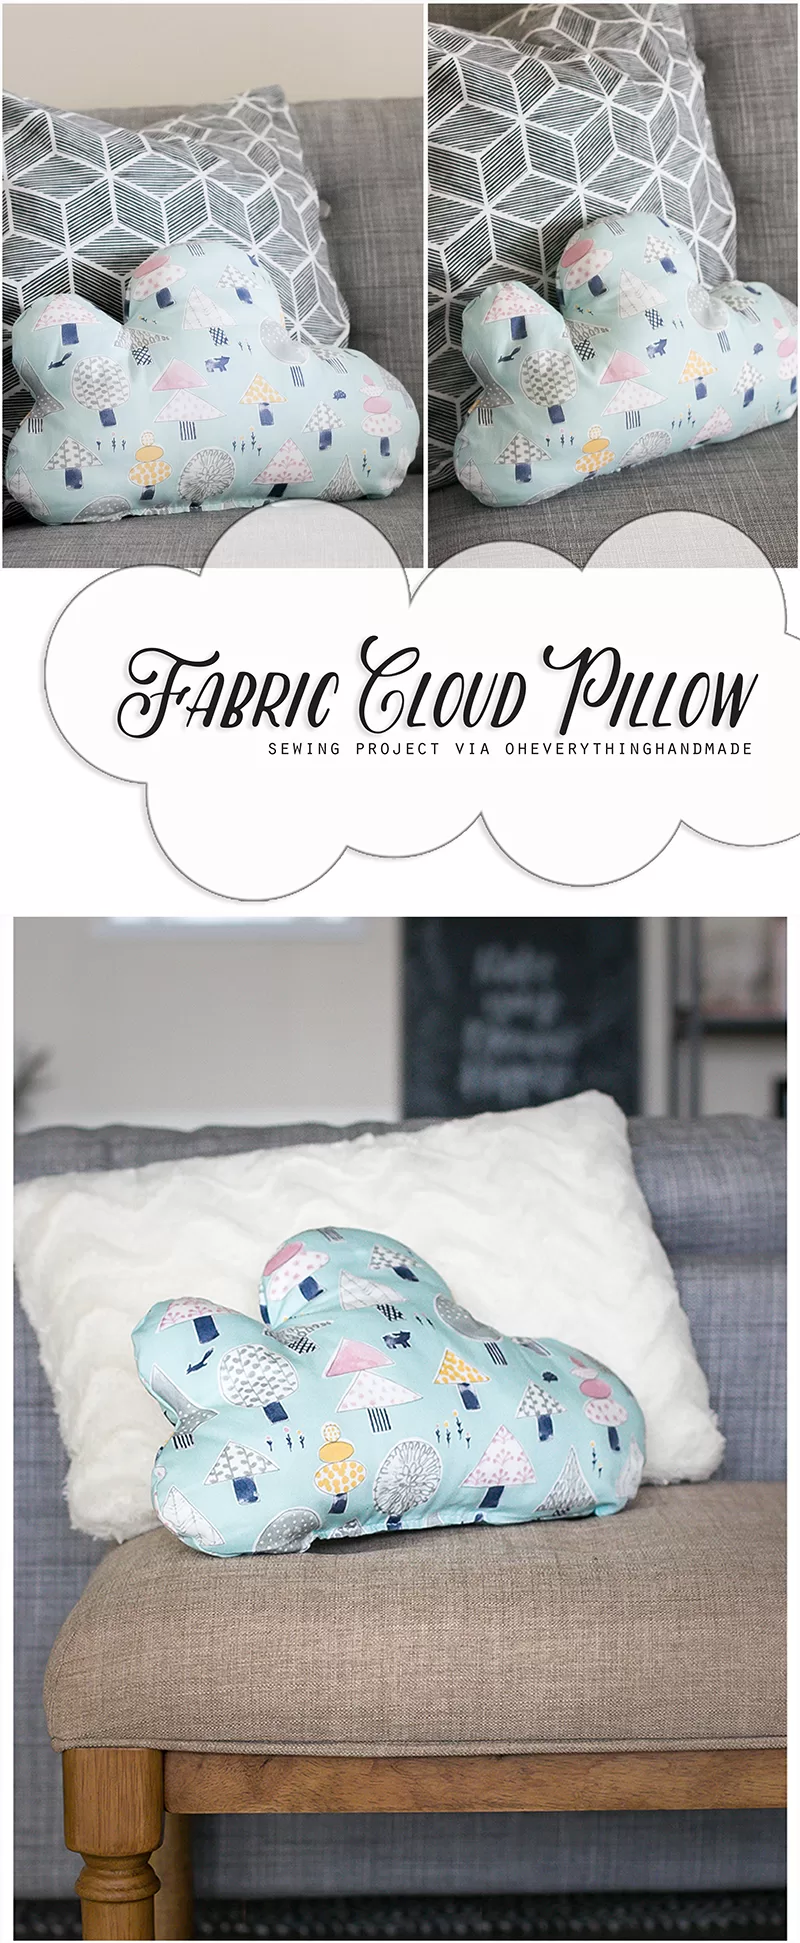
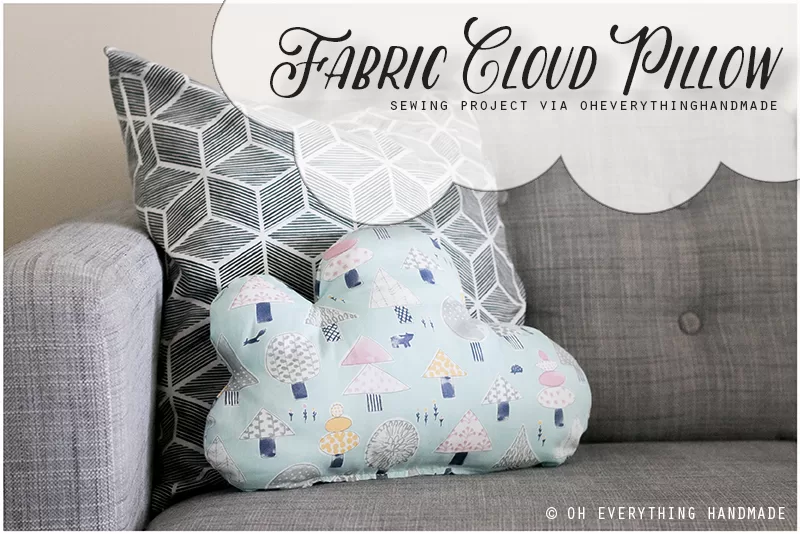
SEWING PROJECT // Fabric Cloud Pillow
Hi there, glad to be back today with a cute little sewing project – Fabric Cloud Pillow tutorial. My kids LOVE pillows, so I thought maybe it’s for the best if I make a few fun pillows for their beds, so they leave mine alone!!!
I got this tutorial done in under 30min from making the template to cutting, sewing and filling the pillow. I picked up the super cute fabric for today’s project at a local craft store; it’s so fun and colorful I couldn’t wait to get home and start making pillows.
The template I used was hand drawn onto a piece of paper 19×12 in size. Use your imagination and bring your clouds to live, but if you don’t have a large sheet of paper, use two regular sheets of paper and tape them together to make a larger cloud template.
SEWING PROJECT // Fabric Cloud Pillow
Material:
- Fabric 24″x24″ to make a small pillow
- Scissor
- Sewing Machine
- Fabric Chalk Marker
- Matching sewing thread
- Pins
- 500g safety standard polyester cushion filling
[do_widget id=text-102]
Shop supplies for this tutorial:

Download the template, enlarging it by 150%, 200% or 350%, depending on the size cushion.
Print Settings
To make a 10×16″ pillow use our template and scale it to 150%, print as a poster and tape all edges together.

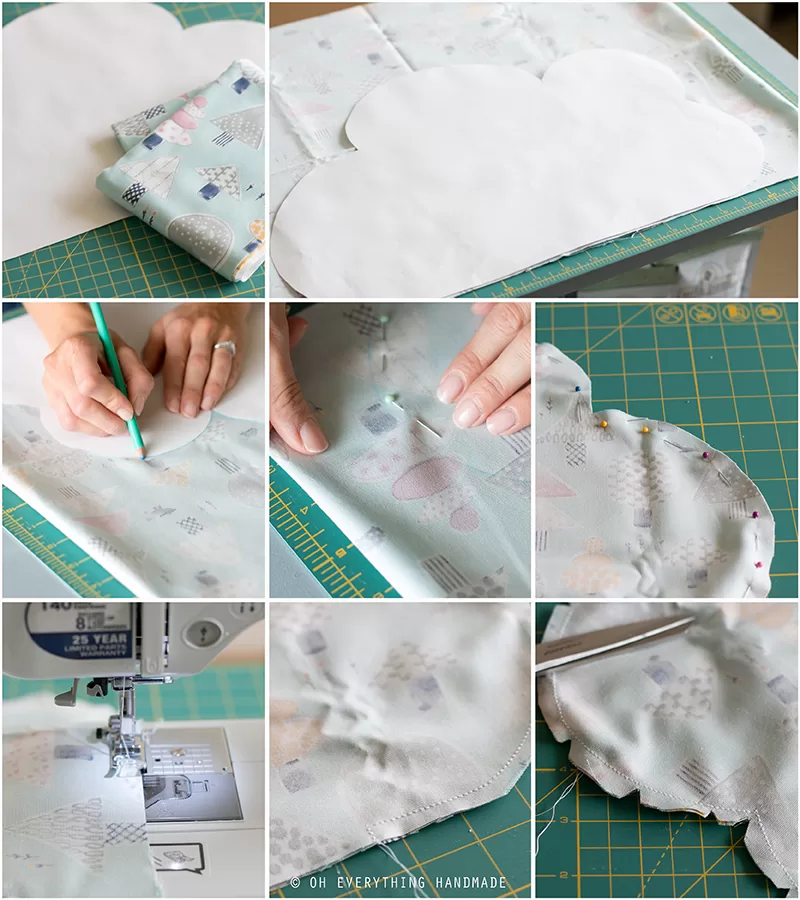
Step 1.
Fold the fabric in half (make sure to have both pattern sides facing each other). Now use the template as your guide, follow the cloud lines with a fabric chalk marker, once done pin both fabric pieces together with pins leaving a 15cm (6inch) gap at the bottom.
Step 2.
Sew the fabric together with a 15mm seam. To maintain a consistent width, you should line the edge of the fabric up with the 15mm mark on the footplate as you sew. Start at the left edge of the gap and reinforce both ends of the seam with a few reverse stitches. Trim the seam allowance back to 1cm all round.
Step 3.
Now cut out a series of small notches around each curve to create a smooth outline. Cut to within 2mm of the stitch line and space the notches about 4cm apart; closer together on the tighter curves. Snip a deep ‘v’ shape at the inward points where the curves meet.
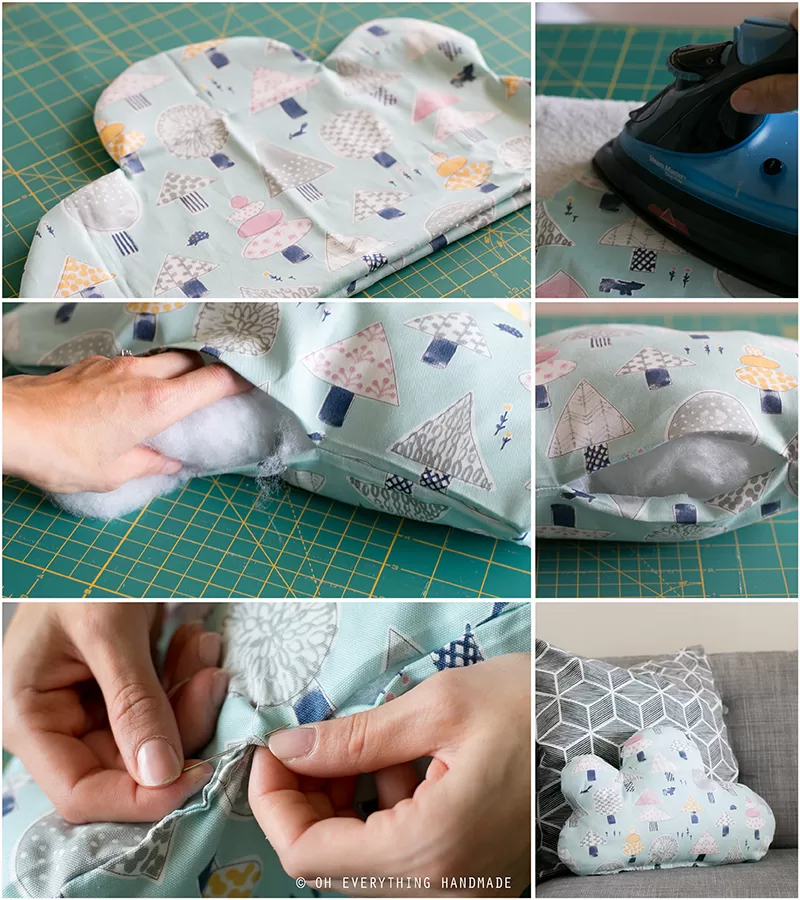
Step 4.
Press back the 1cm seam allowance along the bottom edge, then turn the cover right side out through the opening. Ease out the curved seams, then press the cover, pulling gently on the inward points to allow the fabric to stretch.
Step 5.
Fill the cover with the polyester cushion filling. Keep a continuous stream of stuffing going into the cushion and push it right up into each curve; do not break the stuffing off in clumps as the cushion can become oddly lumpy.
[do_widget id=text-101]
Step 6.
Pin the two sides of the opening together. Using small neat slip stitches, hand sew it closed. Mould the finished cushion with your hands to distribute the filling evenly within the cover. Pass a warm iron over the curves to remove any remaining creases.
This is it, I love these little cushions and how soft they are.
Here is a little tip, if you have old pillows you can cut them open and reuse the filling for new cushions (that’s what I did with these).
// DOWNLOAD SEWING PROJECT // Fabric Cloud Pillow TEMPLATE // PIN IT //