Ikea Karlstad Tapered Leg & Skirt Tutorial
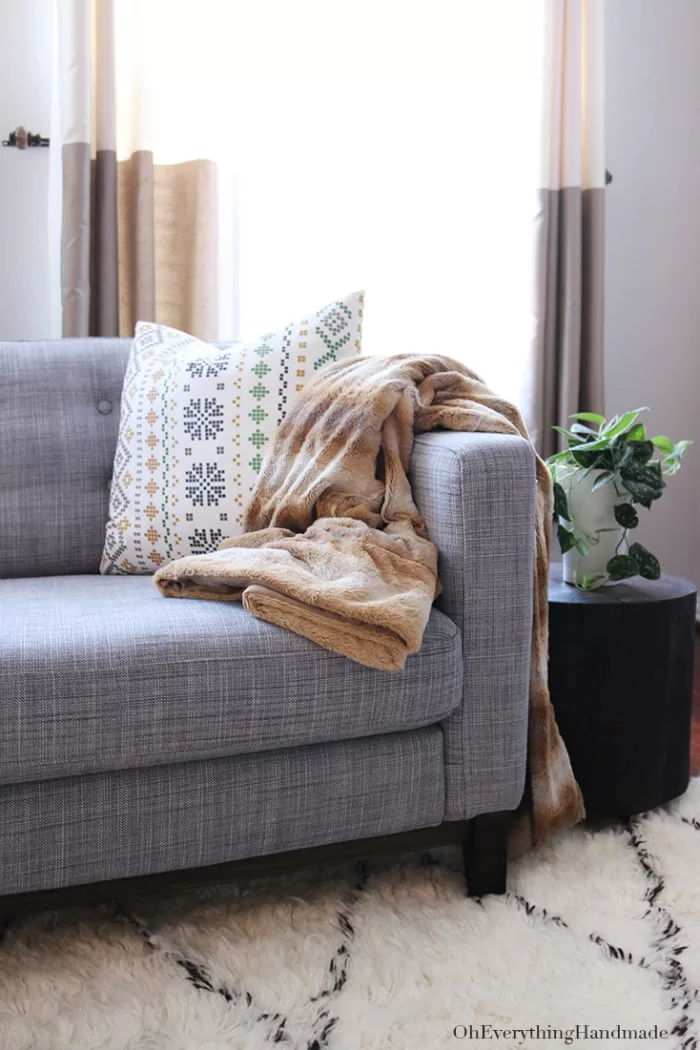
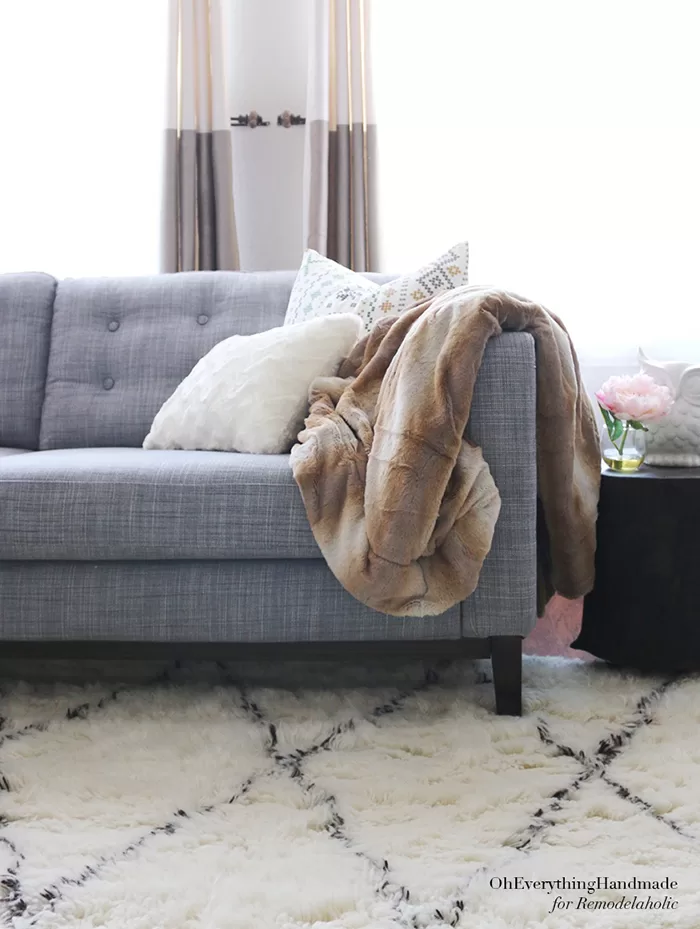
Hi guys, hope you had a great weekend! I am so excited to share my Ikea Karlstad Tapered leg & skirt tutorial with you today. It has been a few weeks since we completed the sofa, and I finally found time to write the tutorial for you.
This tutorial will show you how to transform your existing Ikea Karlstad standard legs, and how to add a skirt to your Karlstad sofa. But you might also like our How to tuft button Sofa cushions.
First up, let’s talk about those Standard Sofa legs your Karlstad comes with! I have seen many makeovers for the Karlstad, but almost all of them required (purchased) new legs. I wanted to avoid that extra cost, and after we had flipped our sofa over, so I was able to look at them. It was clear that I didn’t have to spend extra cash for new legs!!!
Here are a few ideas about what you could do with the standard Ikea sofa legs:
- Sand and stain in any color you like
- Paint them in any color you like
- Taper them on all sides (Video “How to build a tapered leg station“)
- Taper them on two sides (my full tutorial on how I did mine will be available on Remodelaholic by the end of February)
- You can also take your existing sofa legs to a wood workshop, and have a professional cut them into bun legs.
Ikea Karlstad Tapered leg and skirt tutorial
Tools needed:
- Regular sofa:
- 3 – 1 x 8 Pine, Oak etc. (I used Oak for mine)
- Miter saw
- Kreg jig
- L-shaped hinges
- 1 1/2″ pocket screws
- Electric drill
- Electric or hand sander (220 grit)
- Stain & finish
- Sectional sofa:
- 6 – 1 x 8 Pine, Oak etc. (I used Oak for mine)
- same tools as above
Step 1.
If you will give your legs a new tapered look, finish them first and then add the skirt. So, let’s say you already finished your sofa legs, then your next step would be to attach them back onto your sofa so you can measure the length between each leg for your skirt. I made myself a sketch and numbered each leg before I even tapered them. If you skip this step, you may end up with the tapered legs in the wrong position.
Step 2.
Once you have measured and written down all dimensions, it’s time to cut your wood. Use a miter saw to complete this task.
Step 3.
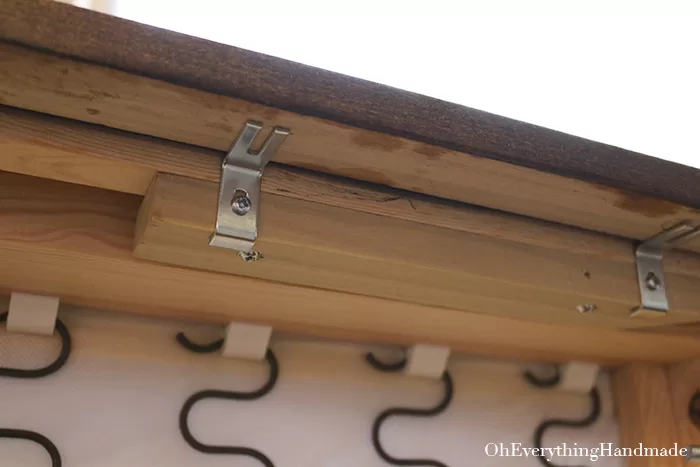
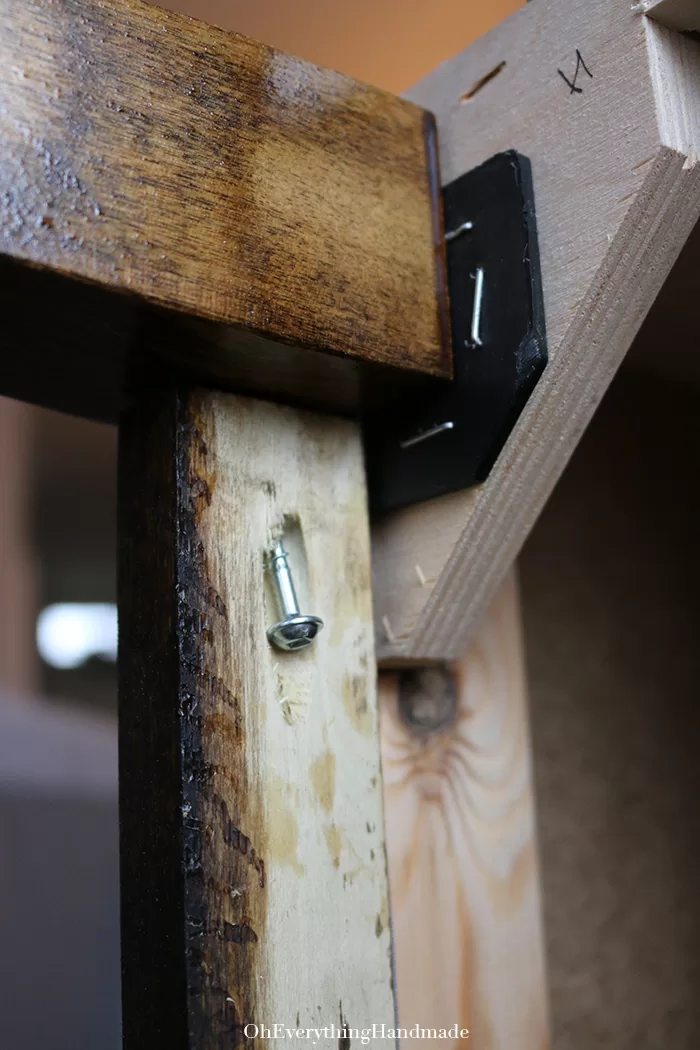
The next step is to add pocket holes; you need two on the outside to secure the board to your legs once done.
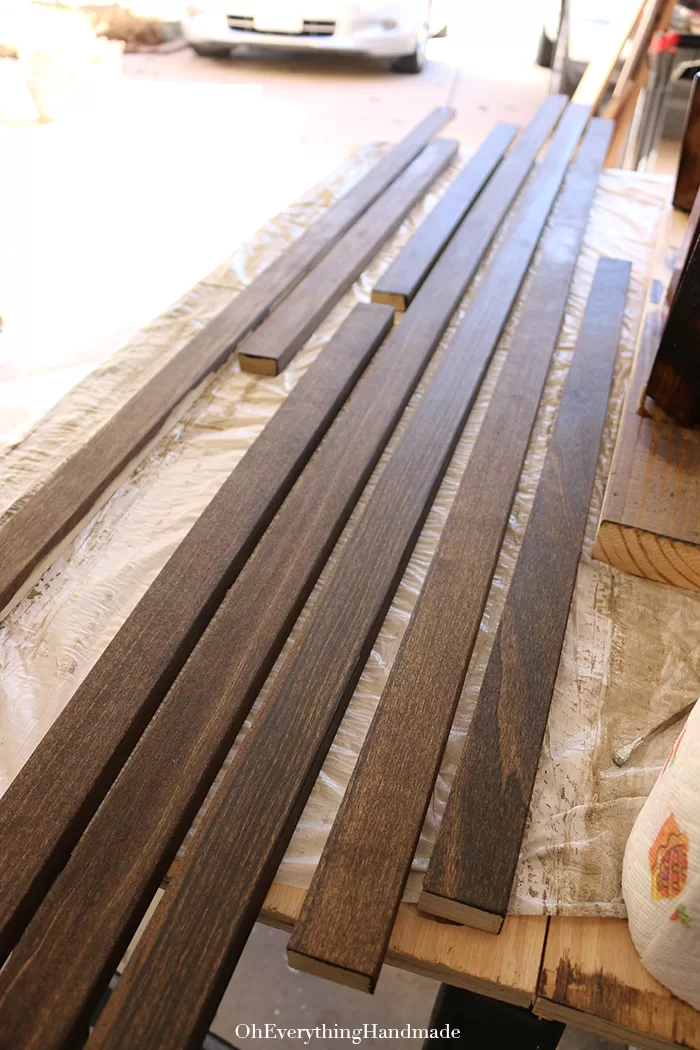
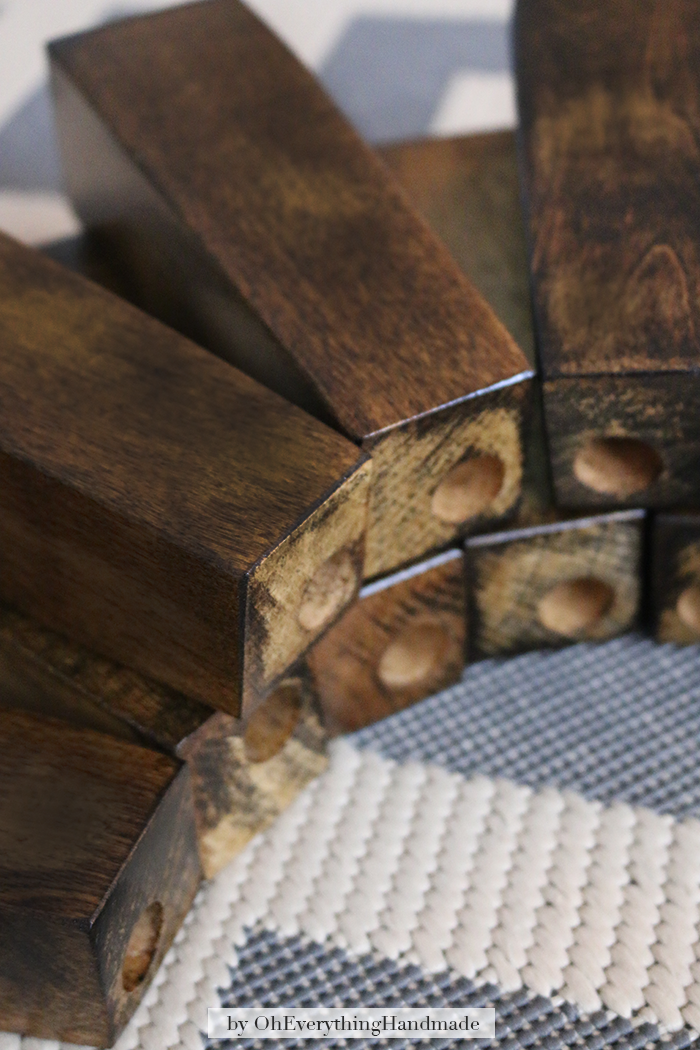
Step 4.
Now sand, stain, and finish your boards. I used the walnut stain and finished them with clear satin polyurethane.
Step 5.
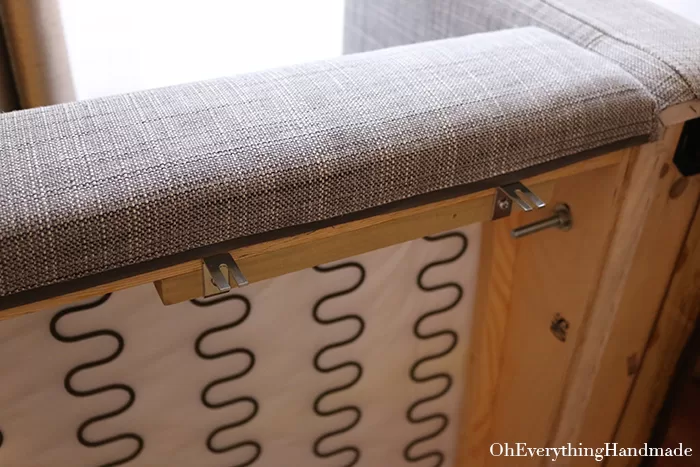
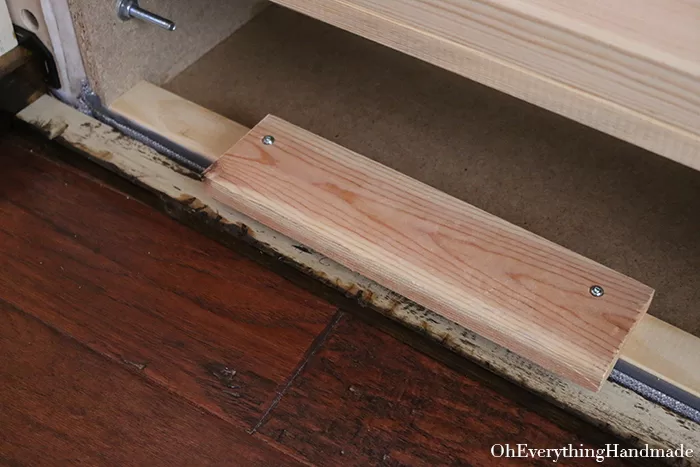
Time to add them to your sofa! If you have a regular sofa, this will be a breeze, simply flip it over, ensure the legs are snugly secured, and screw the skirt on. You will need to attach extra wood boards to your sofa frame so you have a spot to screw on your L-shaped hinges for the skirting board.
But, for those with the sectional sofa, this will be a task, and you need two people to do this.
- We first flipped over the short side and the corner (separate) of our sectional, then we attached the short boards first and the long ones next.
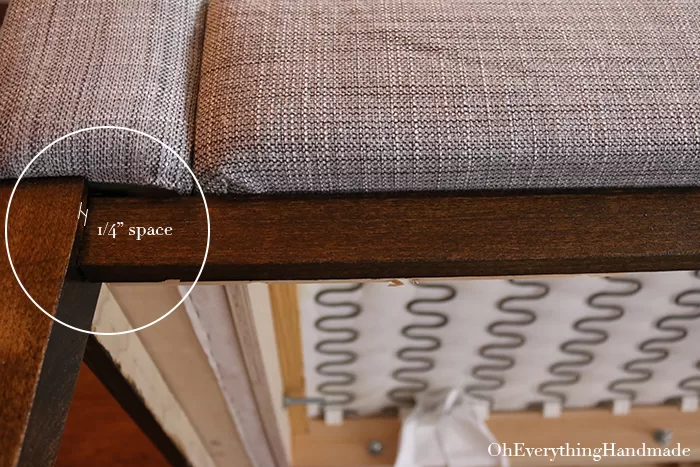
- I turned the sofa over and attached the skirting board to the corner piece legs. Leave 1/4-inch space from your leg to the skirt (see image below).
- Flipped over the longest piece of our sectional, attached the short skirt board, turned it back over, hocked the sofa onto the corner piece, and attached the skirting board.
- This is the tricky part, but only because the corner piece of your sofa will interfere with the skirting board when you need to hook it in. The skirting board will be too long, and there is no other way to attach it. Believe me – we tried!!!
Here is also another option for how you can attach the skirt!
That’s it!
I am sure you will have questions, so please post them below, and I will try to answer them as quickly as possible.
I would also appreciate any shares, and should you use this tutorial for your Karlstad, please tag us on your images on Instagram or Facebook.
I also recommend this interesting post on How we tufted our Sofa cushions.